
Maintaining your roof is crucial to the overall health of your home, and replacing damaged shingles is a key part of that upkeep. Whether it’s due to a storm, wear and tear, or a fallen branch, replacing a shingle is a task you can handle yourself with the right tools and some basic know-how. In this guide, we’ll walk you through the steps involved in replacing a shingle to keep your roof in top shape.
Materials You’ll Need
- Replacement shingles
- Roofing nails
- Hammer
- Pry bar
- Utility knife
- Roofing cement
- Ladder
- Safety gear (gloves, harness, etc.)
Step 1: Assess the Damage
Before you start, inspect your roof to determine the extent of the damage. Look for cracked, curled, or missing shingles. It’s essential to ensure that only the affected shingles need replacing, and the surrounding ones are still intact.
Step 2: Remove the Damaged Shingle
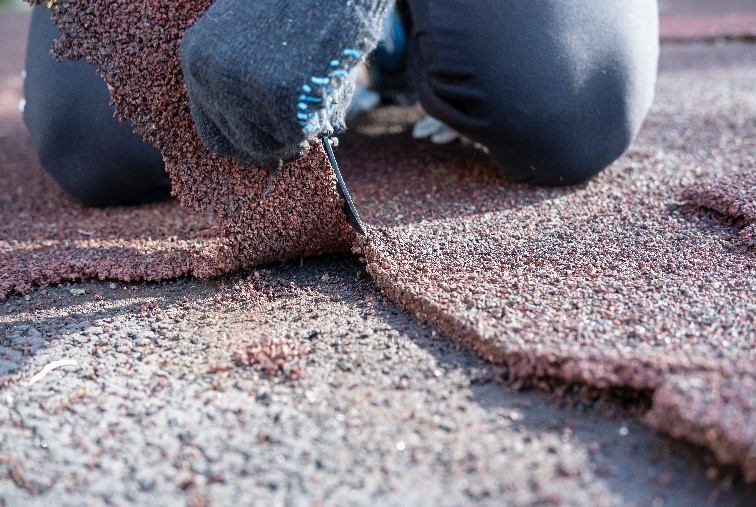
- Loosen the adhesive: Use a pry bar to gently lift the shingle directly above the damaged one. This will expose the nails holding the damaged shingle in place.
- Remove the nails: Once the adhesive is loose, carefully pull out the nails from the damaged shingle. You might need to lift a few surrounding shingles to access all the nails.
- Slide out the damaged shingle: With the nails removed, you can now slide the damaged shingle out.
Step 3: Install the New Shingle
- Cut the replacement shingle to size: If the new shingle is too large, trim it with a utility knife to match the size of the old one.
- Slide the new shingle into place: Carefully insert the new shingle into the gap, making sure it aligns with the other shingles.
- Nail the new shingle: Secure the new shingle by hammering in nails at the same locations as the old ones. Ensure the nails are flush with the surface but not overdriven, which could damage the shingle.
- Seal the shingle: Apply a small amount of roofing cement under the shingle to ensure it sticks firmly and to prevent any future wind damage.
Step 4: Final Inspection
Once the new shingle is in place, inspect the area to ensure everything is properly secured. Check the surrounding shingles and reapply adhesive if necessary. This step will help you catch any potential issues before they become serious.
Tips for Success
- Work on a cool day: Shingles can become brittle in cold weather and overly flexible in the heat, making them difficult to work with.
- Safety first: Always wear appropriate safety gear, and if you’re not comfortable working at heights, consider hiring a professional.
- Match the shingle color: If possible, use shingles from the original batch or from the same manufacturer to ensure a uniform appearance.
By following these steps, you can successfully replace a damaged shingle and maintain the protective barrier your roof provides. Regular maintenance like this not only preserves the appearance of your home but also extends the life of your roof, saving you money in the long run.